
Starfield | Securing The Scientist
Betrayal league in Path of Exile has been an interesting one with how the Syndicate work, rewards, and the complexity it brings. The biggest rewards require you a large amount of game knowledge and league mechanics falling into place. There was a lot to take in for how short a league is.
Because this is a moving event keep track where you are killing Syndicate members. Sometimes they will die a fair distance from where you end up stopping the caravan.
Sometimes for whatever reason, a Syndicate member will not portal back to the caravan and so you need to pay attention to your mini-map where they are. Other times you can hit them a couple of times and they portal back so you need to catch back up to fight them again.
Try to avoid getting killed as you can lose them. Depending on the zone they might change pathing or go down another path. They do not wait for you to catch back up to them. After all, they are trying to escape!
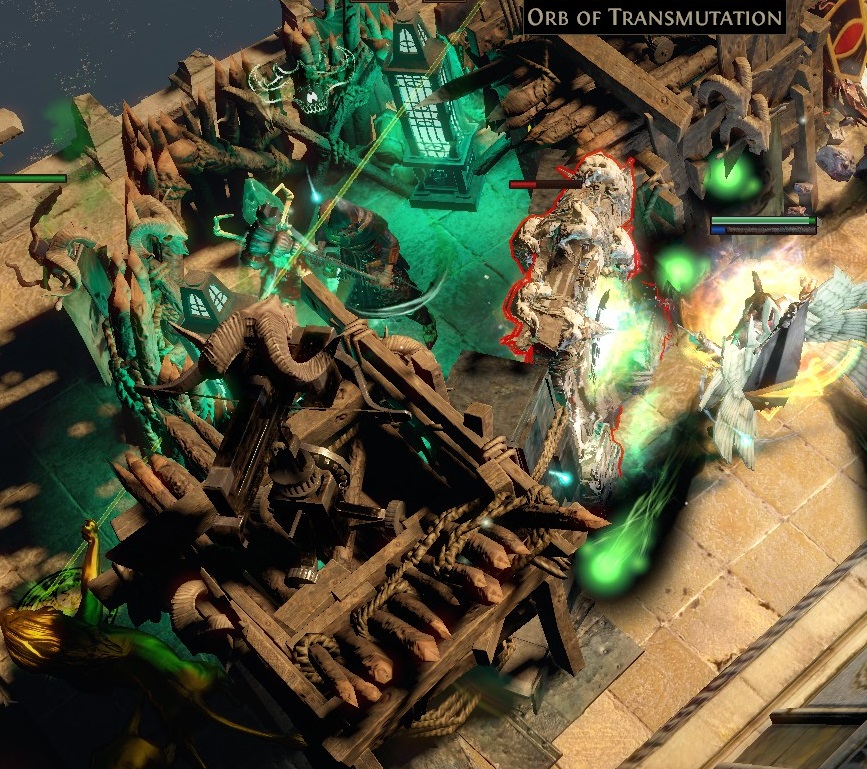
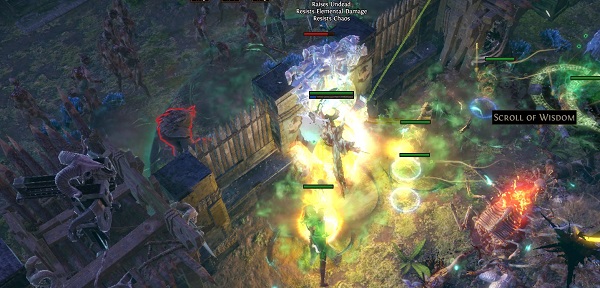
This one can become quite deadly and may require you to weave in and out of combat depending on how well your gear is. They have a ton of monsters, defenses and the Syndicate members themselves will spawn outside attack and then go back in for healing.
Trying to kill the Syndicate members before the door is broken down is pointless as they will just portal away and heal inside. You really need to get the healing totems down.
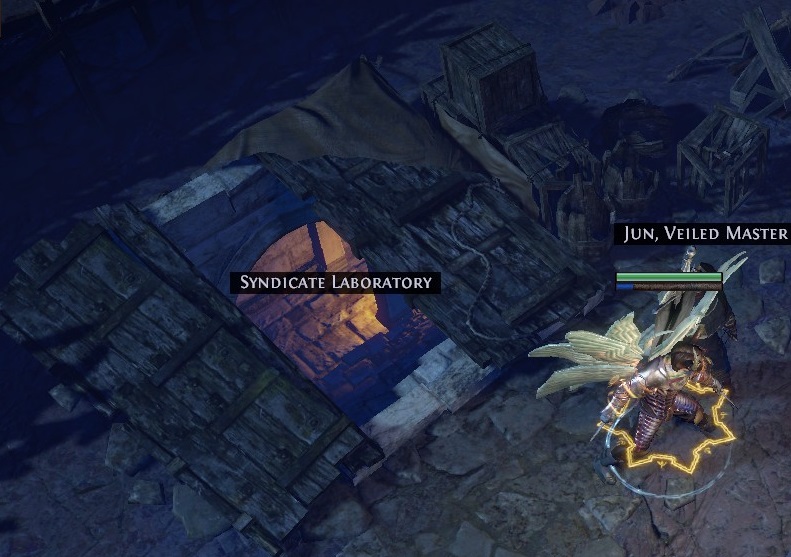
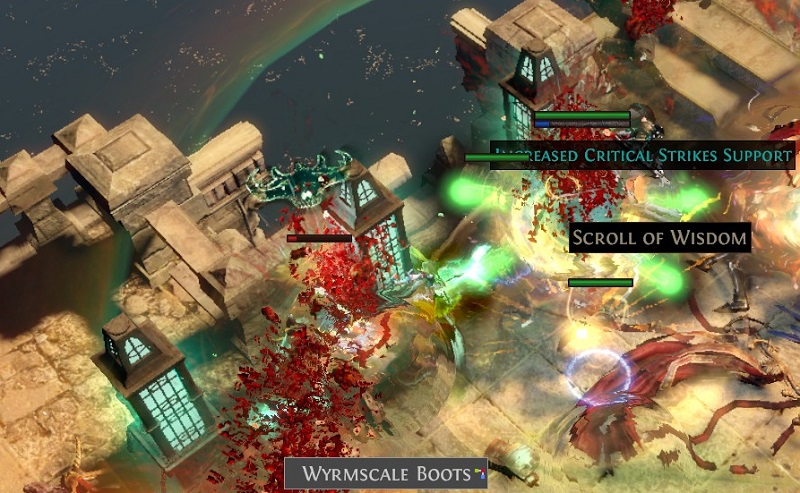
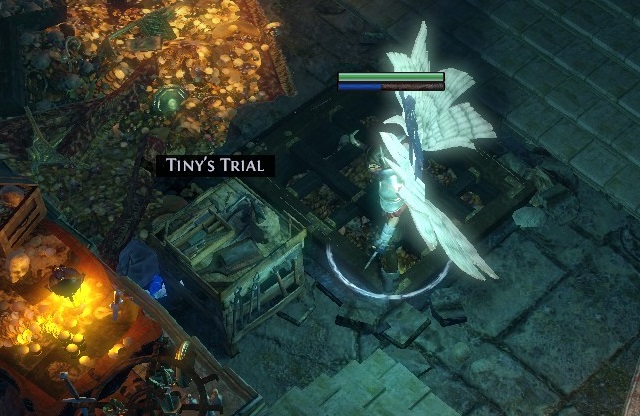
This can be one of the harder once if you are not quick enough or simply lack the damage. They require you to go down into a laboratory. The great thing is if you do not want to interact with this type you can just skip over it. This is a timed event so once you start it you might as well finish or fail.
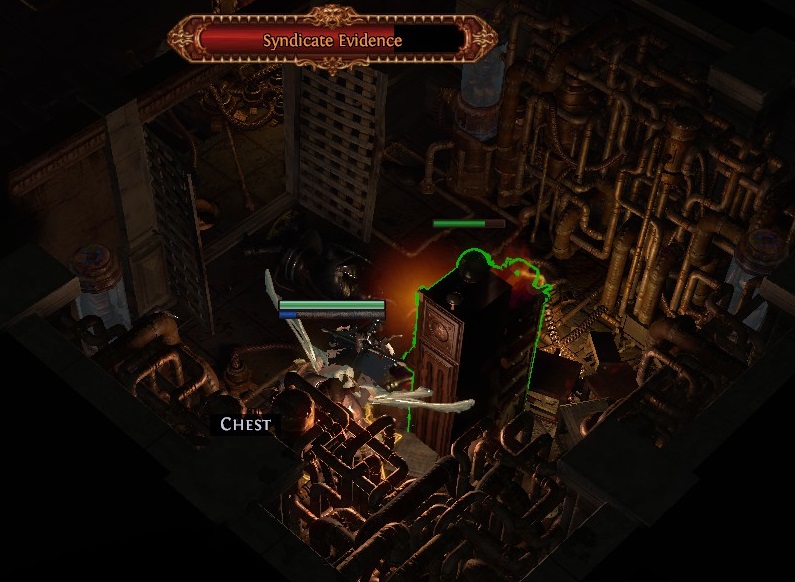
Once inside the monsters start attacking evidence boxes till the amount you need to keep intact have been destroyed or you have defeated the Syndicate members.
If you are just trying to avoid an encounter you really need to keep your distance. Sometimes the Syndicate members can portal in to attack you from a decent distance away.
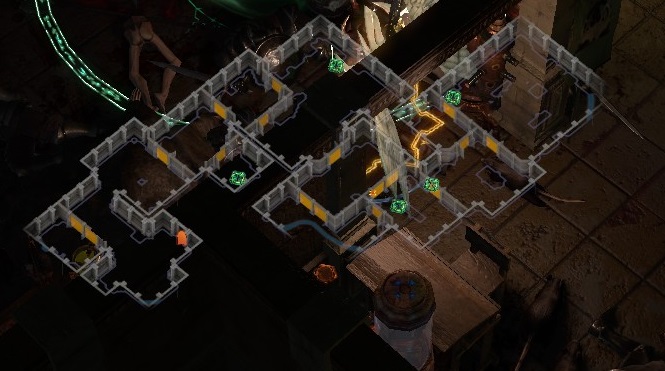
The second option is just to make a B line right for the Syndicate members. After running a few of these you should get the hang of the different zone layouts and find them with ease. As long as you are quick enough you can take them out and not worry about trying to save each individual evidence box. This is more or less the way to go at higher levels.
A major drawback to this zone is you cannot use your own portal out. If you do not interact with all Syndicate members within it a portal out does not spawn either. So if you end up skipping any over due to not likening the options they provide. You have to run back to the start of the zone to exit—bah humbug.
Even if you kill one or more of them as long as one lived you do not get credit for anything.
Often times with a fast movement build its good to take a second or two pauses a couple times during your route to see if you got this one.
From all the safe house runs I did the loot dropping from the trash monsters was never worthwhile. I found it more worth my time to just skip as much as possible to get into the actual safe house.
Once inside you just have to take out the Syndicate that was in that division at that time. After that, all the loot rooms open up.
It’s always best to wait to run a safe house until you have the member you wanting leading it and they are rank 3 as that gives the best reward.
You can portal from within this zone so it’s always best to open one before engaging with the syndicate. While they are not hard it’s also a long run back.
The zone to each safe house can be open from the show investigation button from Jun, Veiled Master. You can find this NPC in the Epilogue Oriath.
You only get 6 portal attempts into the zone so use them wisely.
If you do not run a division’s safe house within a couple of encounters with the Syndicate it will be lowered down to 75%. You will also not get that safe house while you have an option to run it. A great way to block what you don’t want for a couple of turns. I also would load them up with the members I did not care for.
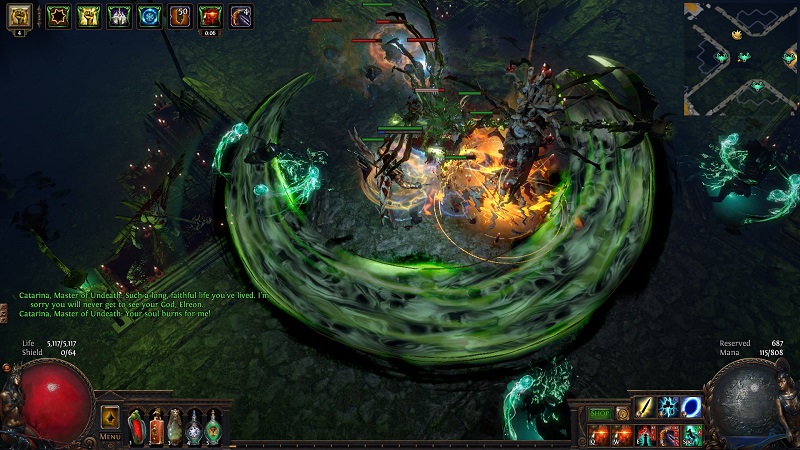
The first zone you get into you has an as short spar with the Master Mind. After that you have a zone you have to get through just like in the safe houses expect it’s even longer. After that, you get to the final encounter.
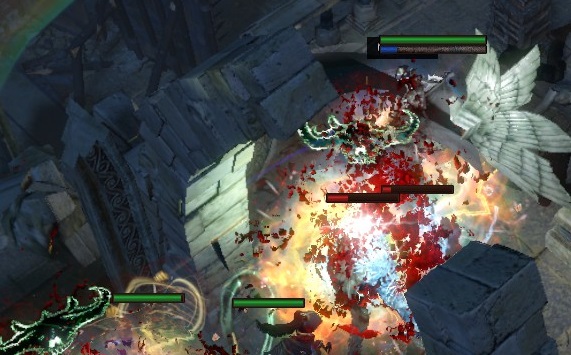
The final encounter itself from what I could tell requires you to pay attention to quite a number of things. A certain area of the zone will cause damage if you are standing in it. As you can tell from the screenshot there was a fair amount of area damage.
You needed to kill each of the four division heads and they slowly become attackable throughout different phases of the main encounter.
Syndicate progression is not shared between your characters. So if you think you can just unlock The Master Mind on a speed running focused character and then go in there with a much more tank build that not an option.
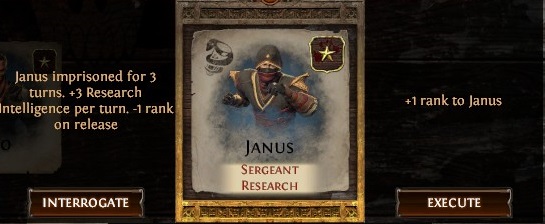
Remember if you do not like the options given don’t select any. That’s right you did not have to pick an option!
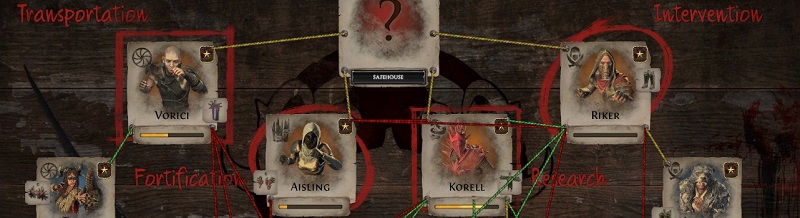
Before selecting any unless you get one you really like check all Syndicate members first. As you start selecting options the others change as well. They have a predictable pattern once you start to learn it and can see cause and effect.
The great debate of 2019 is whether to build trust relationships between different members or have them betray each other! Since you get the option from time to time to remove all rivals you might as well use it when it benefits you the most. Those options that offer insane progress towards finding a division’s safe house.
Otherwise, if you are going for mostly making allies with each other you might notice it hard to rank up since there tends to be a lot of fighting within the ranks. A big benefit is you can get rank ups from everyone that is allied with that person under that division while giving an opposing to lose ranks. Sometimes that great other times you don’t want to demote that other division.
Those that hate each other seem to act like tattletales in a way and are trying to one-up each other by giving more information about a safe house. They seemed to have fewer options for demoting another depending on how you had it set up.
Always make sure the person you want leading a division has three starts before you move them into that position. Once they are up there they spawn in less often and you might not even get the option to rank them up. Leaving you frustrated and spending unnecessary hours.
Be very mindful who is switching with who on the board. Who is getting demoted, and who is flat out getting removed entirely. Many times they will give you ally choice if they switch dividends. Well if you had it set up right in the first place that just messing up your plan!
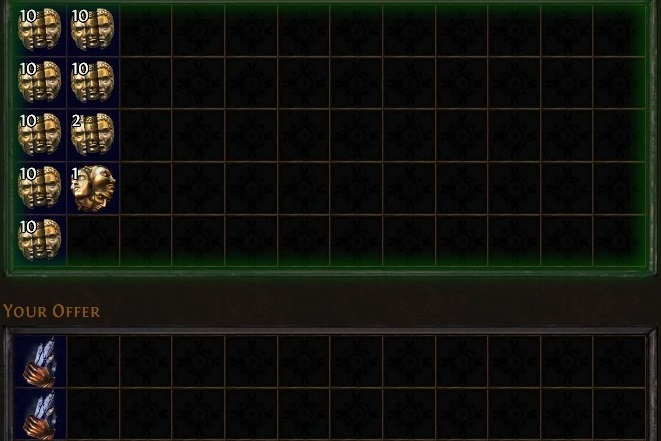
When given the option to destroy all items the Syndicate members have you might as well make your safe house runs easier on yourself. Since you are going focus on certain items trying target some random reward base on what those members are wearing is not something that had an impact on my own gameplay. You rarely got any random item worth anything anyways.
If you can safely add a rank to someone without anything else going on that tends to be the safest route to go unless you needed the intelligence or other options.
There are just far too many situations that would affect the outcome that it is simply best to learn as you go for the most part. If all else false do not select any options and just move on. There is no penalty for doing so.
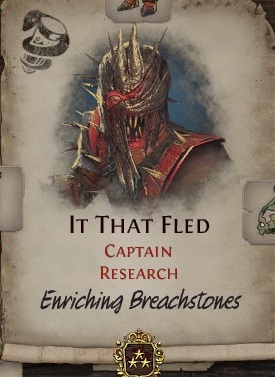
Each member that becomes the head of a division offers double their reward. If we go back to the example of It That Fled when he’s leading Research you can upgrade 2 breach stones instead of one.
Syndicate members also have different rankings that affect the kind of reward they generate. They all start off with one start sergeant. If you upgrade them they become two-star lieutenants. Finally, they can be promoted again to a three-star caption. You can have as many as each rank as you want in a single division.
An example of how this will affect the loot I’ll use Scarabs as an example. One star yields rusted, two-star yields polished and three-star yields gilded.
If we put this all together and have Cameria leading Intervention as three stars you would get 2 Gilded Sulphite Scrubs worth at the time of writing this 40 Chaos Each. If she was still in intervention but not leading it with three stars you would get just Gilded Sulphite Scrub. If she was just in inversion with one star you would get a Rusted Sulphite Scarab worth around 18 Chaos. If she was not in Intervention at all the reward would be something not even worth your time you were lucky it was worth a single Chaos
I personally liked just running Intervention and Research the most.
For Research all I cared about was having It That filed three stars and leading it. Since you could upgrade a breach stone. This does require you buy it before you run that safe house as leaving the zone ends it. This also means you have to do your own research to see profit margins and what you can afford to buy. You can use Path of Exile’s own external trade page to do that if you want. You will want to look at Xoph, Tul, Esh, Uul-Netol, and Chayula Breakstone.
For intervention, at the time Cameria was giving Sulphite, Gravicius divination, Rin cartography, and Tora harbinger scarab. They each spawn a loot room that drops scarabs according to those fields that you could put into the atlas with your maps and run. Running them in higher maps can yield better results. With Sulphite, you would get Niko to spawn and depending on the type up to 150% Sulphite spawns. Meanwhile, harbinger would get you up to four harbingers to fight.
One of the more popular areas to run with how the zone was set up and it’s level. In around one or two minutes you could locate, defeat and reset the zone.
You can find this zone in Part 2 Act 8
The zone itself is very narrow so in almost all areas you could see the Syndicate on the map and move to them. Any zone like this is rather ideal. If you happen to miss them during your route it was not worth trying to find them just reset the zone
The port in from Lunaris Concourse is also rather close to the Harbor Bridge zone.
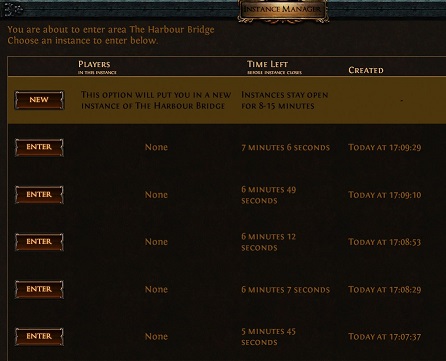
Takes 1 to 2 minutes to run, find, defeat, and start over again. Holding down control and left clicking on a zone opens up the instance manager to start afresh instant.
The Sky Shrine marks halfway point of the zone. So you know if it’s better to turn around or finish going through the rest of the zone.
It’s only level 60 so once you are in maps the Syndicate should be no issue.
While you could luck out and find the Syndicate right away I feel this zone just had too much terrain and objects in the way for making fast runs. You could just make a square pattern around the zone searching and cover most of the area.
You can find this zone in Part 2 Act 9
There is a waypoint in the middle of the zone and you could just make a short circle run around it before exiting. Hoping for luck instead of total area visibility in finding them.
If you prefer to run in maps you are looking for outdoor, not too much terrain or objects slowing you down. That normally has a very simple route to get to point A to Point B before you are done and you simply start again.
Ideally, you want to run maps that you are not getting killed in or having to port in and out to refill flasks to take them on.
Such maps could be
It just comes down to what map you can run the fastest with the build that gets you the most zone coverage to uncover the Syndicate.
In the future when Betray is added to the core game you will need to locate the correct map icon they take up on the Atlas and run those zones instead. For a guarded chance to encounter them. I will in the future add that icon and update this as a possible alternative for running them as quick as possible.
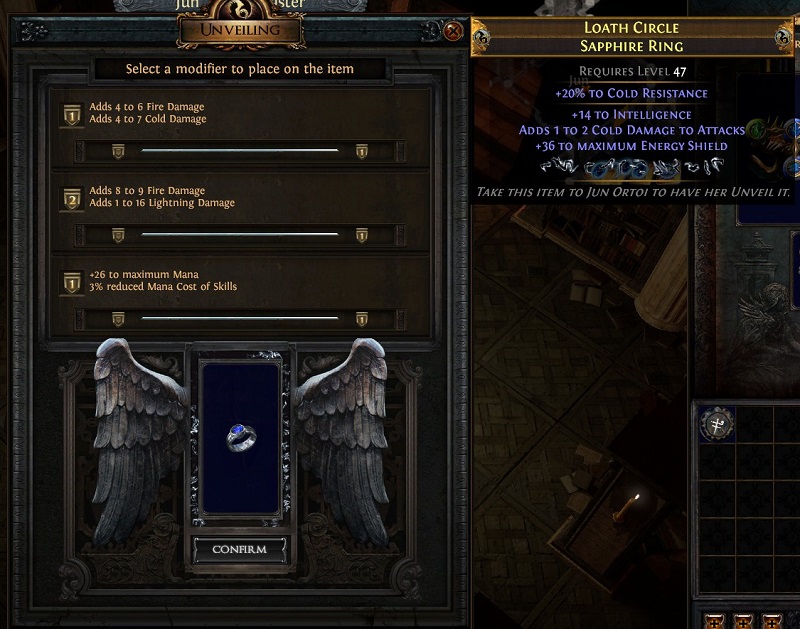
These veil modifiers can be leveled up. The more you select them when using Jun Veiled Master to unveil an item the higher they can go until they are capped at different levels. Some more powerful modifiers have lower level caps while some of the weaker ones might require a fair bit of leveling to become useful.

If you did not like them at all thankfully Research was usually the first one most players would get. If you never ran it you would only get research every time. Since research required the player to go into a special zone you were now left alone for the rest of the league! As long as you never went down into that zone and completed it.
This was considered a bug. If be nice if it was kept like that. Some rather never see the Syndicate again.
Mixed feelings about them adding this to the core game. I think for most of this league players just hated Betrayal and the Syndicate including myself. They really wrecked you good for the longest time. Loot felt lackluster until you finally understood what is even going on. Not to mention a lot of stuff was just not very intuitive.
Many players ended up having to create excel sheets and take notes. This is a video game, not a homework assignment and I think that was underlying issues. Leagues are only around for a couple of months unless they get added to the core game where you will only occasionally encounter them. The future generation of new players is just going to be confused and struggle.
If nothing else we now have more options for crafters to further specialize down that path and offer services. Along with people getting Scarabs to sell or use to try and target Sulphite or Harbingers or whatever else they want.
Screenshots and content are written by @enjar. Screenshots are from the game Path of Exile.


Starfield | Securing The Scientist

Starfield | The Terrormorphs Situation

Valheim | Checking Out The New Howling Cavern

Starfield | Working For The United Colonies

Starfield | Mars And The Traitor
Starfield | Assault On The Terrormorphs
CryoFall | The Cyborg

Valheim | Exploring A Frost Cave

Starfield | Who Was Really Running Things
CryoFall | Advancing Up The Tech Tree